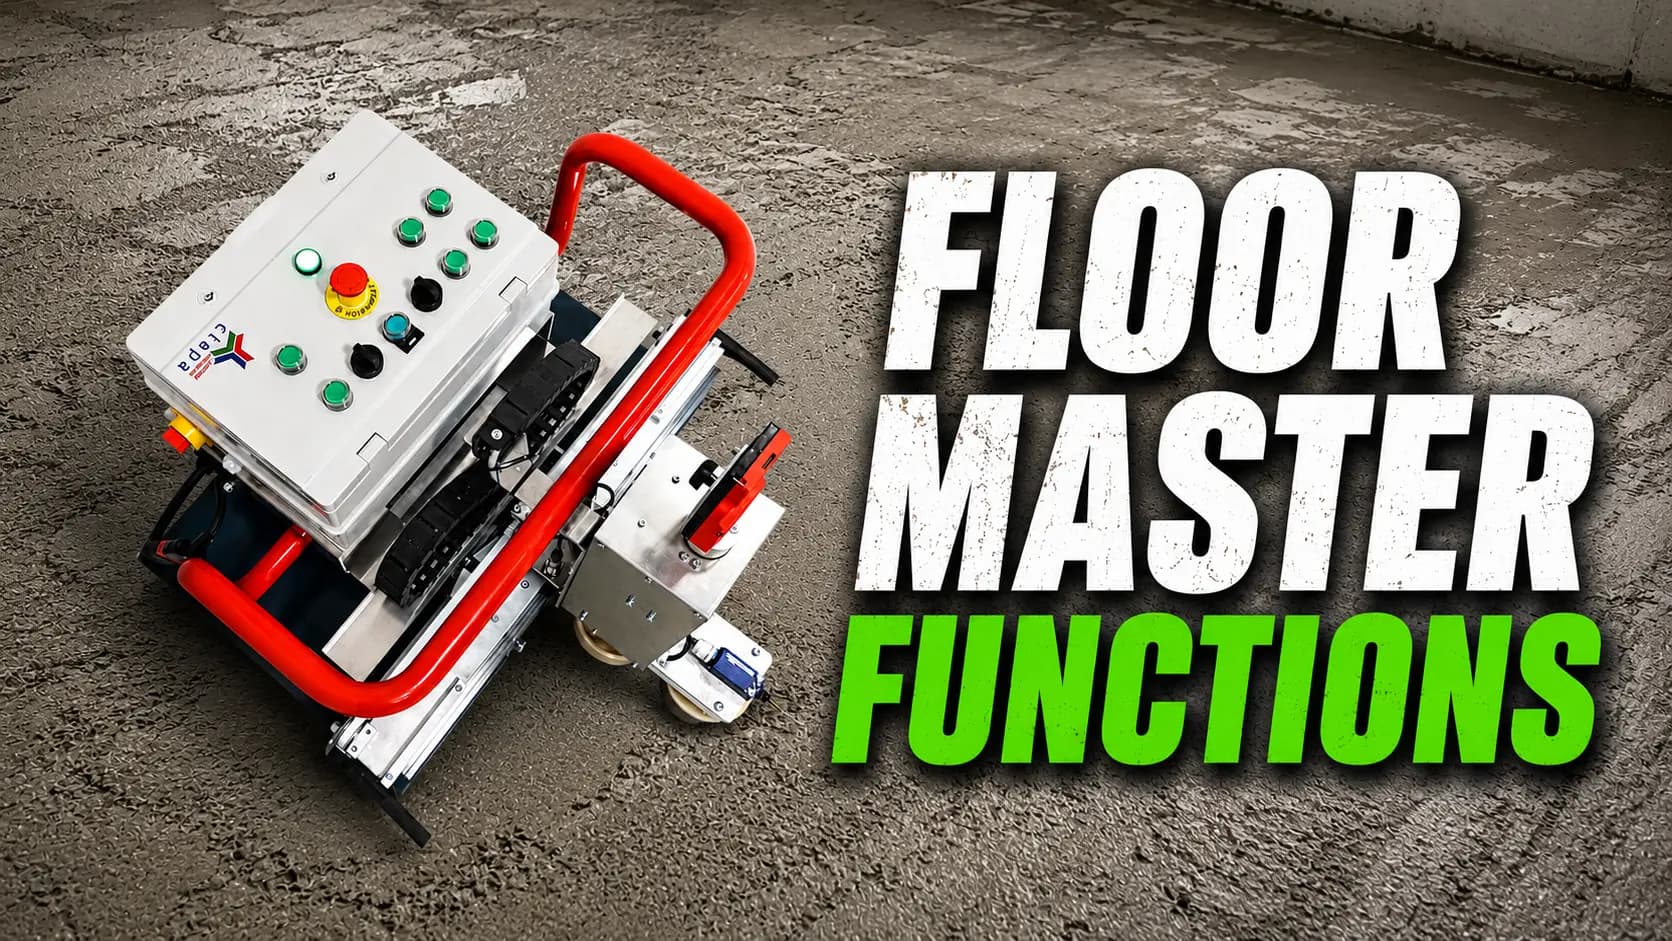
Quick Start Guide — Floor Master Type 130
Spend just a few minutes learning how to operate Floor Master with this comprehensive guide.
June 12, 20263 min read
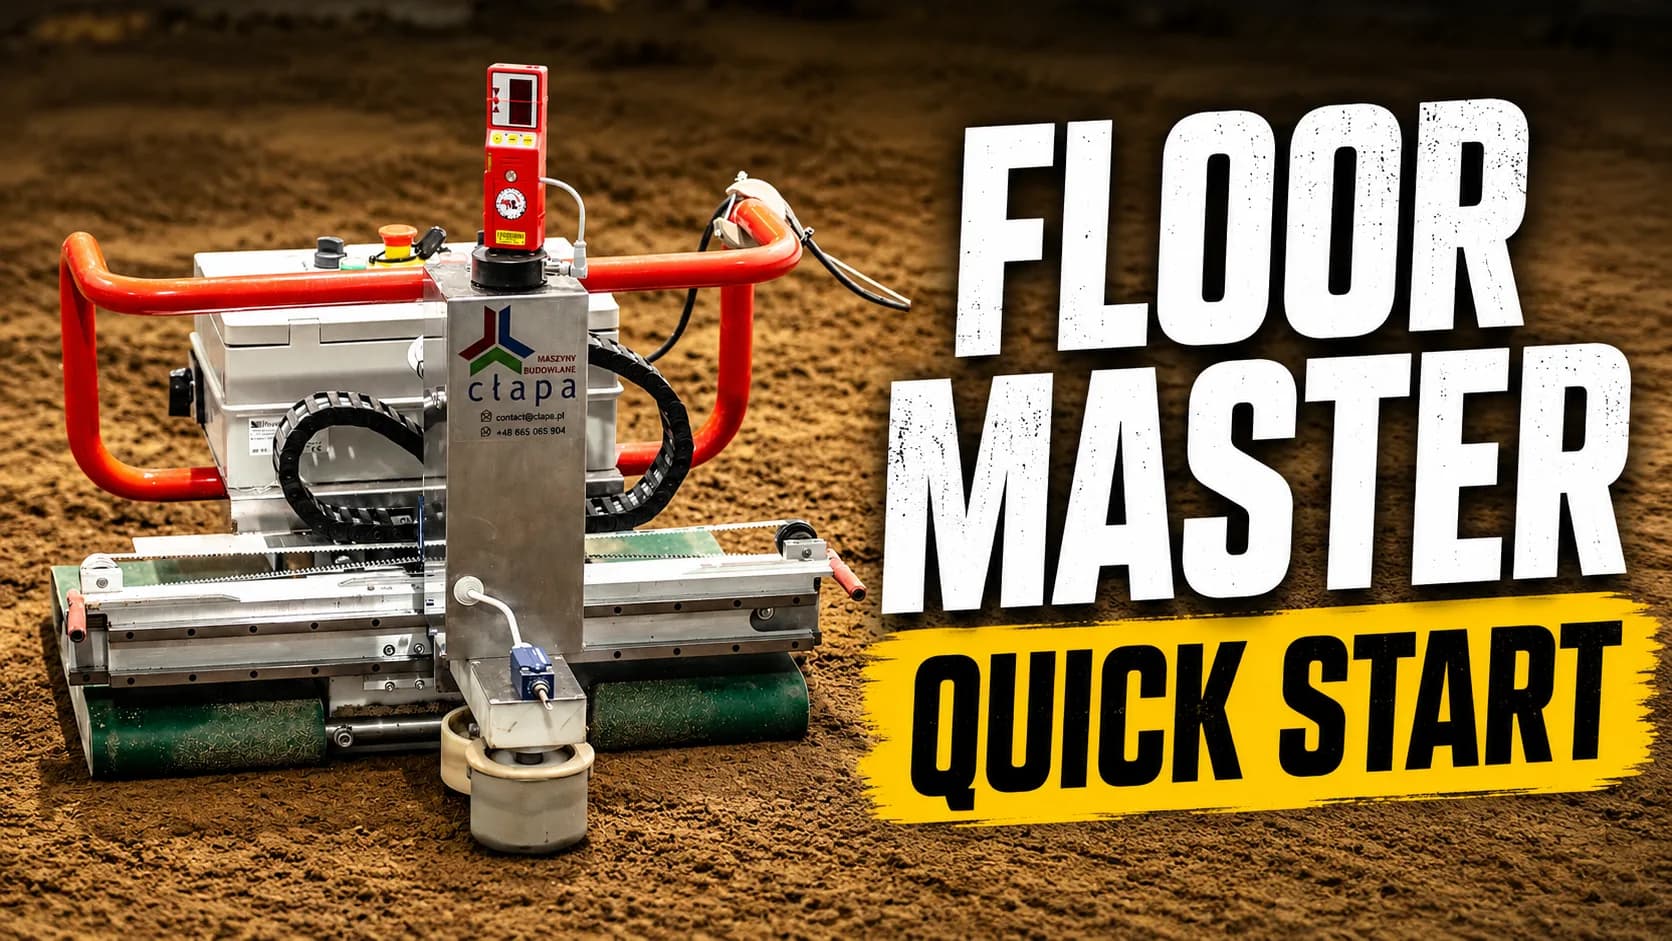
See how to get the Floor Master ready and start a clean pour. No theory — just the steps that matter before you hit start.
Five steps take the Floor Master from an empty slab to a running, laser-levelled pour: prepare the start patch, seat the machine, set the laser, calibrate the receiver, and go.
80 m²/h
Sustained screeding throughput on an open slab.
±1 mm / 20 m
Laser-held level across the working area.
80 / 130 cm
Two head widths for tight or open floors.
~6 h battery
Continuous run time on a single charge, depending on load and conditions.
Before you start
Floor Master Type 130 is an automatic screeding robot that helps you lay floors faster and more accurately. It works to the level set by the rotating laser, reducing the need for constant manual screed-rail work. The steps below assume the screed mix is on site and the machine is charged or plugged in.
01
Prepare the start patch
What it does
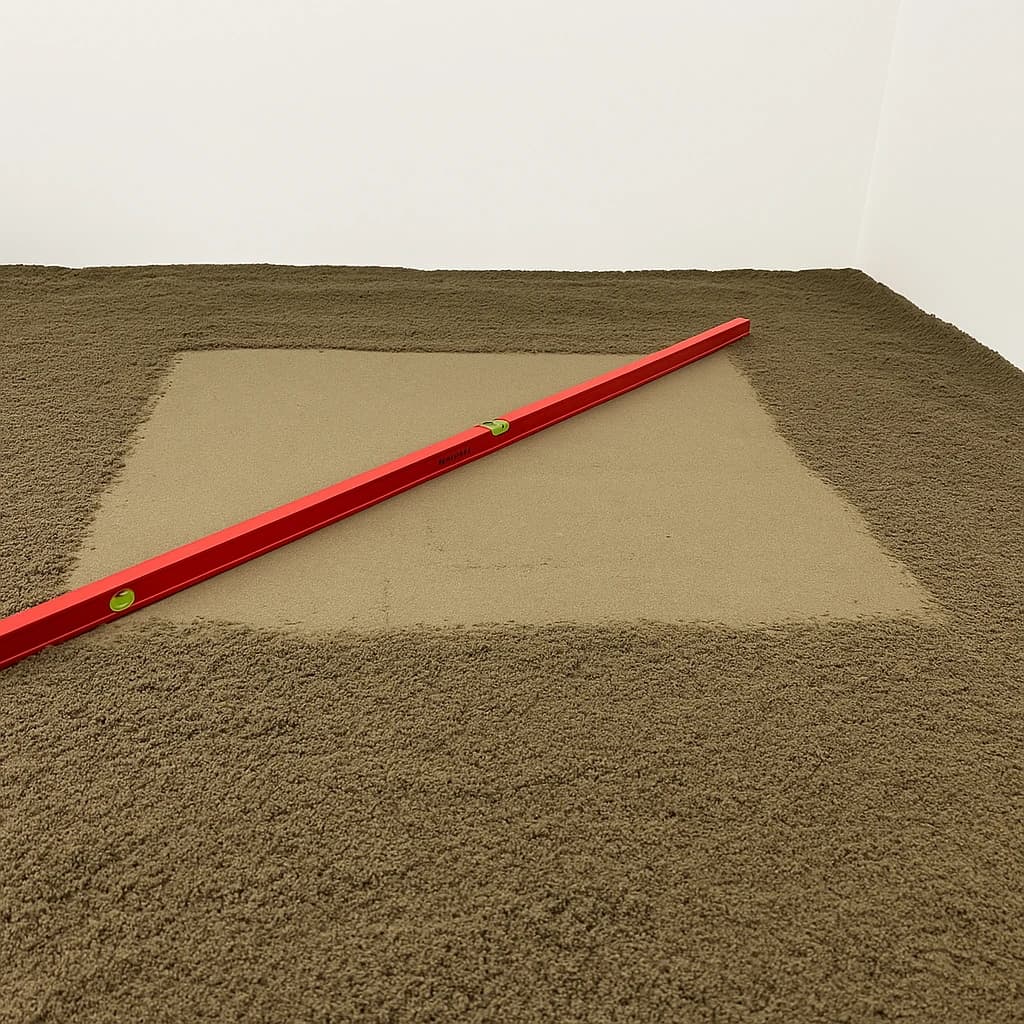
Start by hand-finishing about 1 m² of floor — enough for the whole machine to sit on — and level it by hand.
Why it matters
A levelled start patch sets the reference for the meters that follow. Begin from an uneven spot and you will be correcting the opening pass.
Operator tip
This step is particularly recommended for first-time users. Once the laser is set to the right height, the machine can self-adjust to the level on its own.
02
Position and seat the machine
What it does
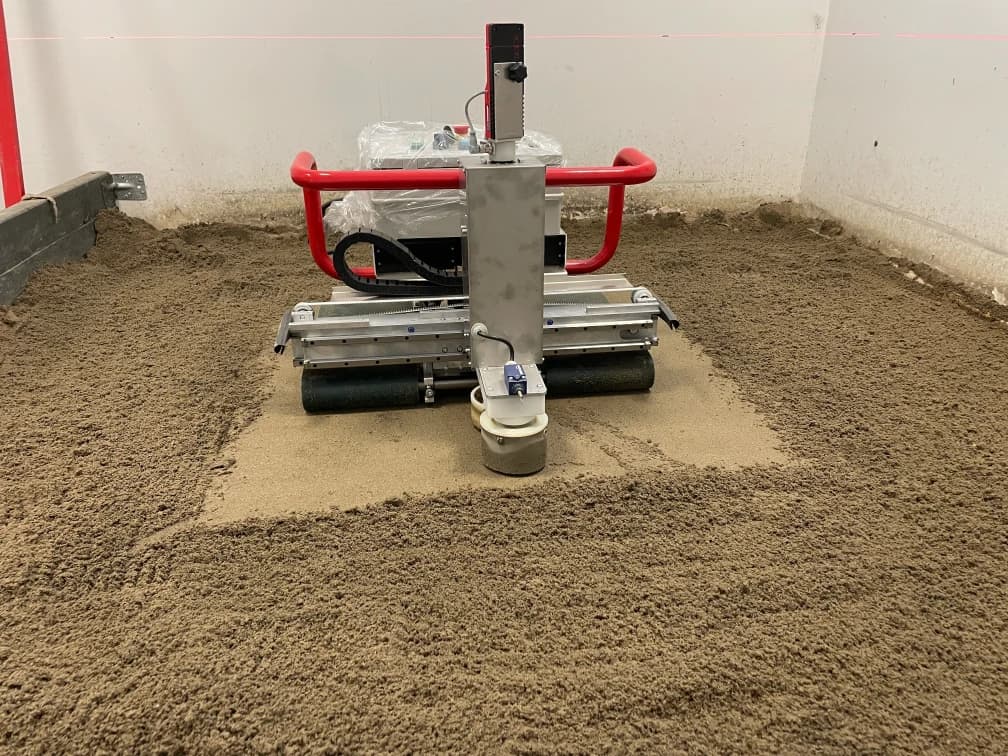
Set the machine squarely on the prepared start patch, switch on the power, and lower the working head until the trowelling plate just touches the mix.
Why it matters
Getting the trowelling plate height right directly affects the finished floor level. Take this step carefully before you start the pour.
Warning
The trowelling discs are not at the same height — the polymer disc sits about 3–4 mm lower. Run the head left-to-right once to check: the prepared patch should stay untouched. Then stop the head.
Operator tip
After running the head, the prepared patch should remain unchanged. If the trowelling plates leave a depression, they are set too low.
03
Set up the laser
What it does
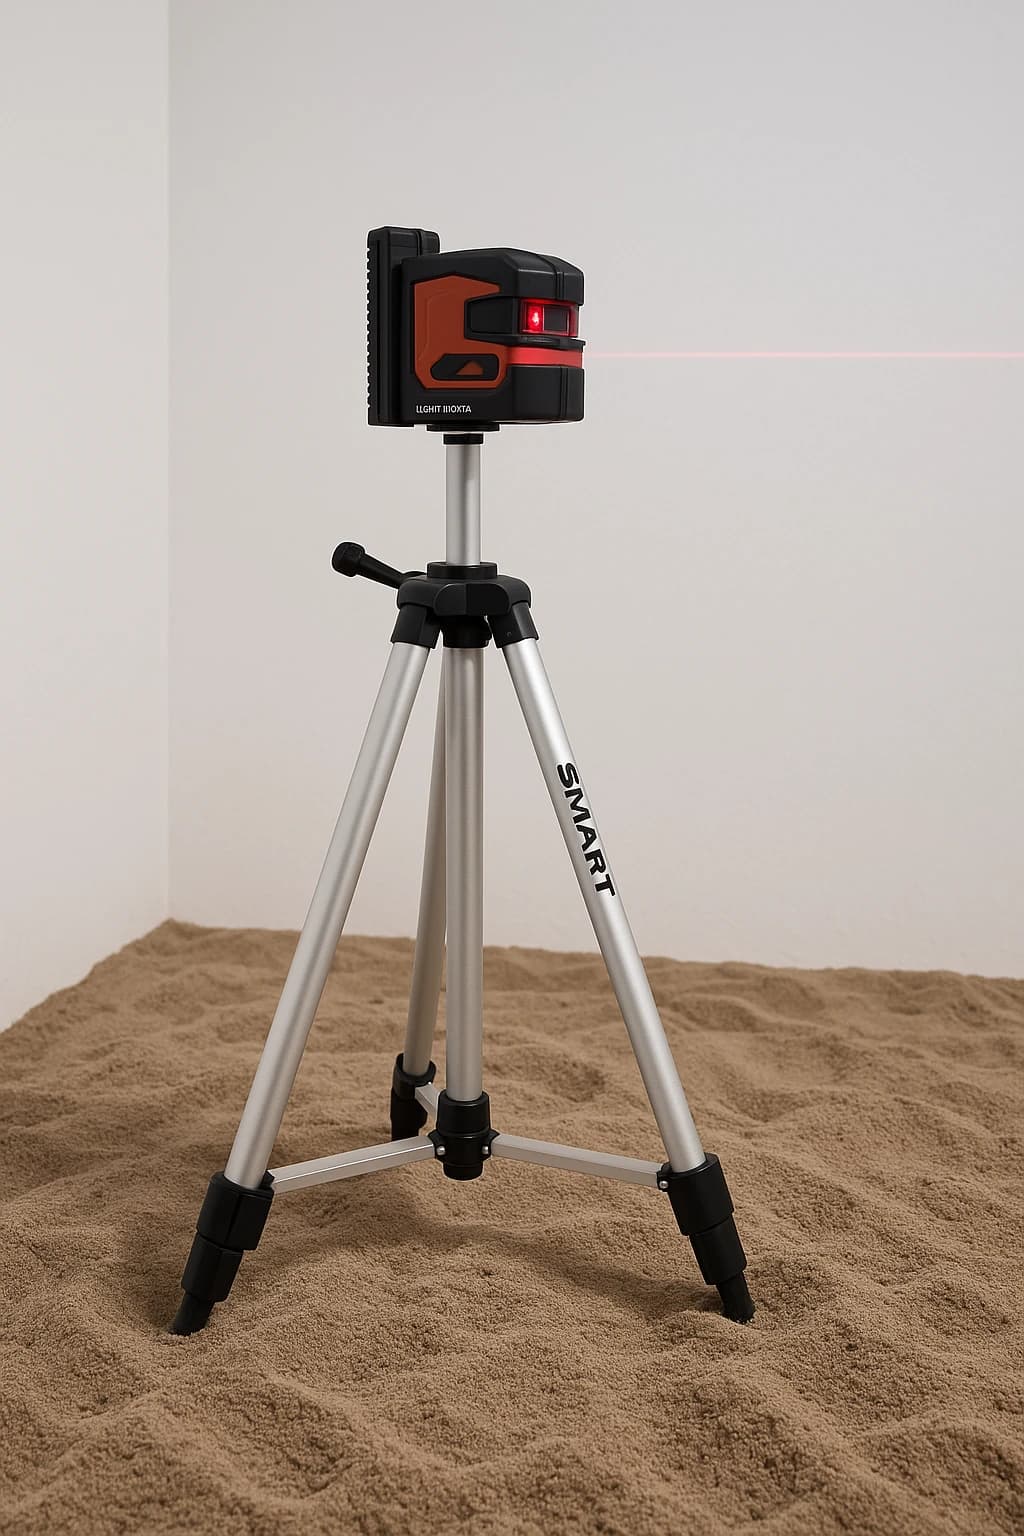
Switch on the receiver, mount the rotating laser on its tripod, unlock it, and position it so the beam reaches the receiver on the machine.
Why it matters
The Floor Master works to the level set by the laser. Before starting, confirm both the laser and receiver are on and working correctly.
Operator tip
The receiver rotates during work, so you don't need to reposition it manually. If the head runs left and right but the machine won't move forward, check that the receiver is picking up the laser beam correctly.
04
Calibrate the receiver
What it does
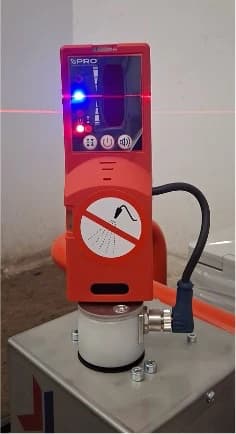
The receiver picks up the beam and shows its position with LEDs and audible tones. Adjust the laser height until the beam sits at the center of the receiver.
Why it matters
This tells the machine the exact height to work to — a centered beam is your working level.
Operator tip
When the center LED lights, the level is set correctly. Depending on the model it shows green or blue.
Warning
Once the laser and receiver are set, mark the wall at the points where the beam lands. These marks serve as reference points when you need to move the laser later.
05
Start the pour
What it does
Run through all settings once more. If everything checks out, engage the gear with the knob on the control panel — then you're ready to go.
Why it matters
Have enough mix ready before you start. The machine works at a solid pace, and running out of material mid-pass means unnecessary stops.
Warning
If the machine is set up correctly but won't move forward after pressing Start — only running the head left and right — check that the gear is engaged.
System overview
How the steps fit together
1
Prepare
Start patch
2
Position
Seat head
3
Laser
Mount & aim
4
Calibrate
Center beam
5
Mark
Mark the wall
6
Start
Begin the pour
System flow
Laser
Receiver
Controller
Head actuator
Level slab
Operator checklist
Before
- Start patch prepared and levelled
- Machine stable and powered
- Laser on, receiver centered
During
- Keep cables clear of the head
- Don't block the laser beam
After
- Lift the head for transport
- Clean the machine
- Inspect cables, belts, and plates
Safety first
Never leave the machine unattended. Keep untrained people and children clear of the working area.
Troubleshooting
| Problem | What to check |
|---|---|
| Machine won't start | Power, fuses, and the emergency stop. |
| Machine doesn't move forward | Laser alignment and gear engagement. |
| Machine doesn't move correctly | Head position, limit sensors, and drive belts. |
| Level isn't held | Laser and receiver setup, and the beam's line of sight. |
| Uneven work | Mix prep, the start patch, and disc height. |
| Head doesn't respond | Power, cables, control buttons, and the panel. |
| Receiver doesn't see the laser | Laser is on, the beam reaches the receiver, and nothing blocks it. |